 Save
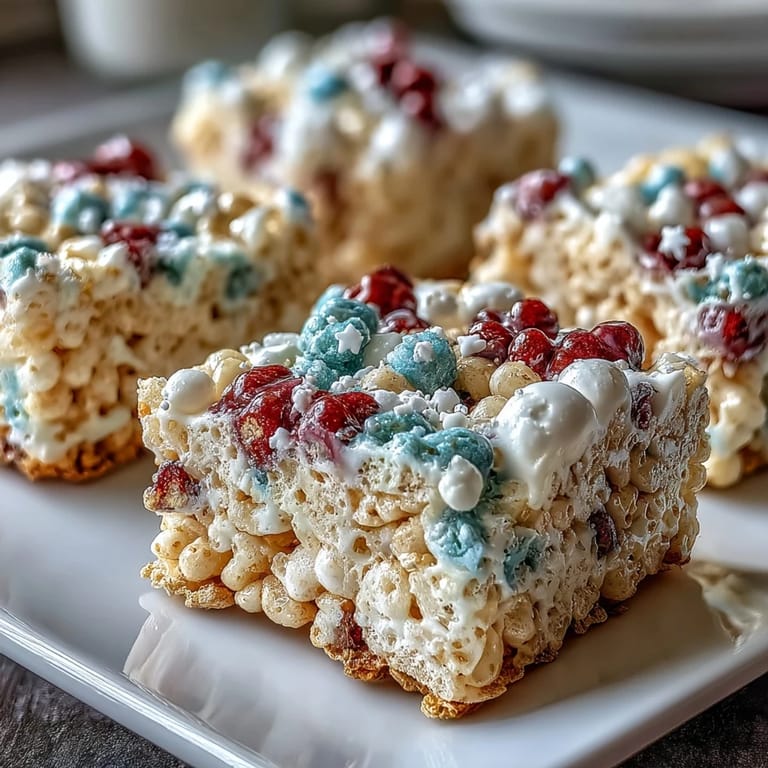
Save There's something about making these layered treats that turns a regular July afternoon into something worth remembering. My neighbor knocked on the door with her kids in tow, asking if I had any last-minute ideas for the block party dessert table, and I realized I had exactly what we needed in the pantry. What started as a quick solution became our annual tradition—watching three distinct colors come together while the kitchen filled with that familiar marshmallow sweetness. Now every Fourth, someone asks me to bring them.
I made these for the first time on a humid July evening when my brother called to say he was bringing his new partner to dinner. I suddenly felt the pressure to do something special, something that said without words, 'We're the kind of family who shows up.' By the time they arrived, the layers had set perfectly, and I watched their faces light up when they realized each color tasted slightly different. That's when I understood these weren't just treats—they were a small way of saying welcome.
Ingredients
- Rice Krispies cereal: Use the classic original version—avoid frosted varieties, which can make things too sweet and affect the texture when you're pressing them down.
- Mini marshmallows: They melt faster and more evenly than large ones, giving you smoother, more uniform layers that hold their shape.
- Unsalted butter: This lets you control the salt level, and dividing it into thirds keeps each layer tasting distinct.
- Vanilla extract: A small splash in the white layer gives it character and prevents it from tasting like the others.
- Gel food coloring: Liquid coloring will thin out your mixture and ruin the texture—gel is non-negotiable if you want vibrant, true colors.
- Red, white, and blue sprinkles: A purely optional touch, but they catch the light and make the whole thing feel celebratory.
Tired of Takeout? 🥡
Get 10 meals you can make faster than delivery arrives. Seriously.
One email. No spam. Unsubscribe anytime.
Instructions
- Prep Your Pan:
- Line a 9x9-inch baking pan with parchment paper and give it a light grease—this matters more than you'd think because it lets you lift the whole thing out cleanly. The parchment becomes your best friend when it's time to cut.
- Divide Everything Into Thirds:
- Measure out your marshmallows and butter into three equal portions before you start melting anything. This simple step prevents the panic of trying to eyeball portions mid-recipe.
- Make the Red Layer:
- Melt butter over low heat, add marshmallows, and stir gently until completely smooth—you'll hear them pop slightly as they soften. Add red gel coloring just a few drops at a time, stirring between additions until you like the shade, then fold in the Rice Krispies until everything is evenly coated.
- Press and Set:
- Use slightly damp hands or a greased spatula to press the red mixture firmly and evenly into the bottom of the pan—don't go gentle here, or your layers will fall apart when you cut them. Wipe your saucepan clean before moving to the next color.
- Build the White Layer:
- Repeat the process with the second portion of butter and marshmallows, stirring in vanilla extract for flavor, then fold in Rice Krispies. Press this layer gently but firmly over the red layer—think of it as building, not destroying.
- Complete with Blue:
- The final layer follows the same pattern: melt, color, coat, press. By this point your hands will know the motion, and you'll move faster.
- Finishing Touches:
- If you're using sprinkles, scatter them while the blue layer is still slightly warm so they stick. Let everything cool and set undisturbed for a full hour—patience here is what gives you clean, beautiful squares.
- Slice and Serve:
- Lift the whole block out using the parchment, place it on a cutting board, and use a sharp knife dipped in hot water between cuts for clean edges. A hot knife makes an enormous difference.
 Save
Save Years later, my brother still brings up the year he met his wife at our house partly because of these treats—they became shorthand for a moment when everything felt perfect and possible. Funny how something so simple can hold so much meaning, but that's what happens when you show up with something made by your own hands on a day worth celebrating.
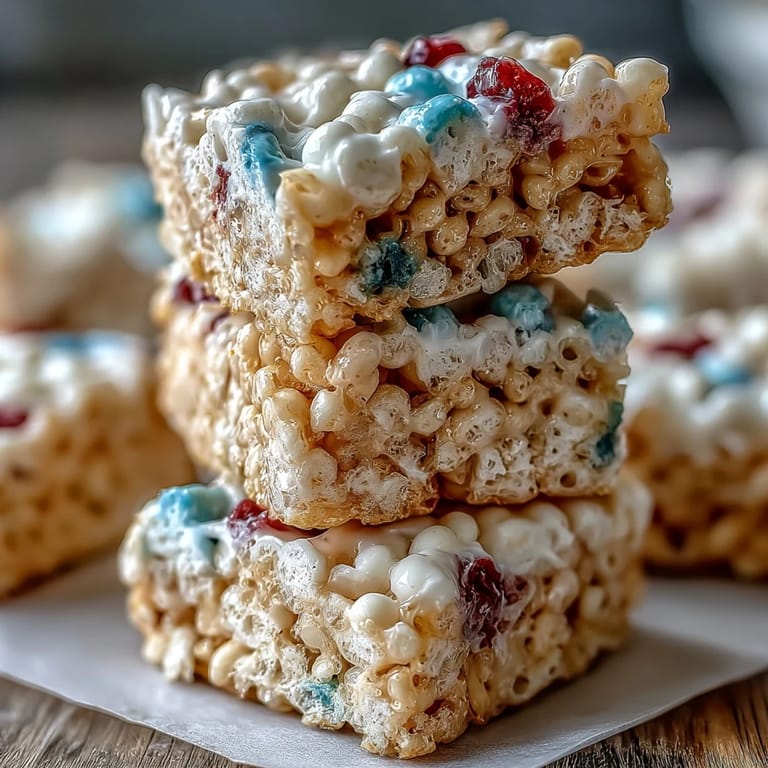
The Secret to Clean Layers
The real magic happens in the pressing technique. When you press each layer, you're not just compacting cereal—you're creating a bond between layers that keeps them from sliding apart when you cut. Slightly damp hands work better than a dry spatula because the moisture helps the marshmallow adhesive do its job. I've noticed that pressing too gently leaves gaps that become weak points, while pressing too aggressively can squish the layer below. There's a sweet spot where you use firm, deliberate pressure without excessive force.
Storage and Keeping Quality
These treats actually taste better the next day after the layers have fully set and the flavors have melded slightly. Store them in an airtight container, separating layers with parchment paper if you're stacking them, and they'll stay fresh for three days. Temperature matters—keep them in a cool spot away from direct sunlight, because warmth can soften the marshmallow and make the whole thing gummy.
Why Three Layers Work Better Than You'd Expect
There's psychology in the three-color design that goes beyond patriotism. When you taste red, then white, then blue, your brain registers distinct flavor experiences even though only the white layer has added vanilla. The texture stays consistent, but the color creates anticipation. I've watched people eat these slower than regular Rice Krispies treats, actually paying attention to each bite instead of mindlessly consuming them.
- The vanilla in the white layer prevents everything from tasting identical, which is the difference between impressive and forgettable.
- Making them in stages means you can easily adapt colors for any occasion—Christmas versions, patriotic versions, or even Halloween if you're creative.
- Pressing between layers creates a slight seal that protects the layers below, keeping the whole structure intact through cutting and serving.
 Save
Save These treats have become more than dessert in my house—they're a small, delicious way to mark a moment worth remembering. Make them, share them, and watch what they become.
Recipe Guide
- → What type of food coloring works best for vibrant layers?
Gel food coloring is recommended for bright, vivid hues without affecting the texture or moisture of the layers.
- → How do I prevent the mixture from sticking while pressing?
Lightly grease your hands or use a spatula to gently press each layer evenly into the prepared pan.
- → Can I prepare these treats ahead of time?
Yes, once cooled and set, store the squares in an airtight container for up to three days to maintain freshness.
- → Is it necessary to clean the saucepan between layers?
Yes, wiping the pan clean ensures distinct layer colors and prevents color mixing during preparation.
- → Can salted butter be used for extra flavor?
Absolutely, incorporating salted butter adds a subtle savory balance to the sweetness of the treats.
- → Are these treats suitable for vegetarians?
Yes, however, the marshmallows may contain gelatin, so check ingredients if avoiding animal-derived products.