 Save
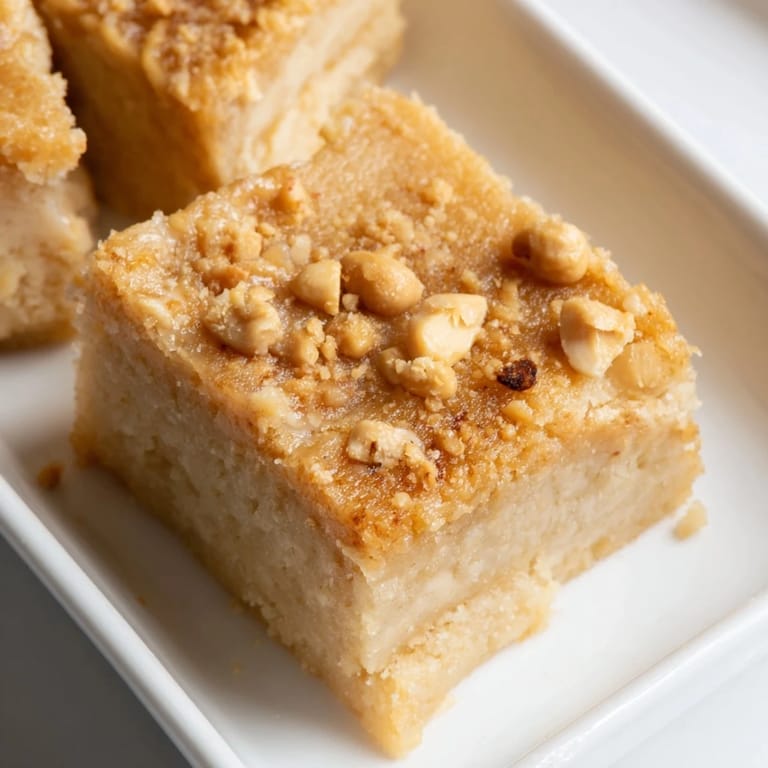
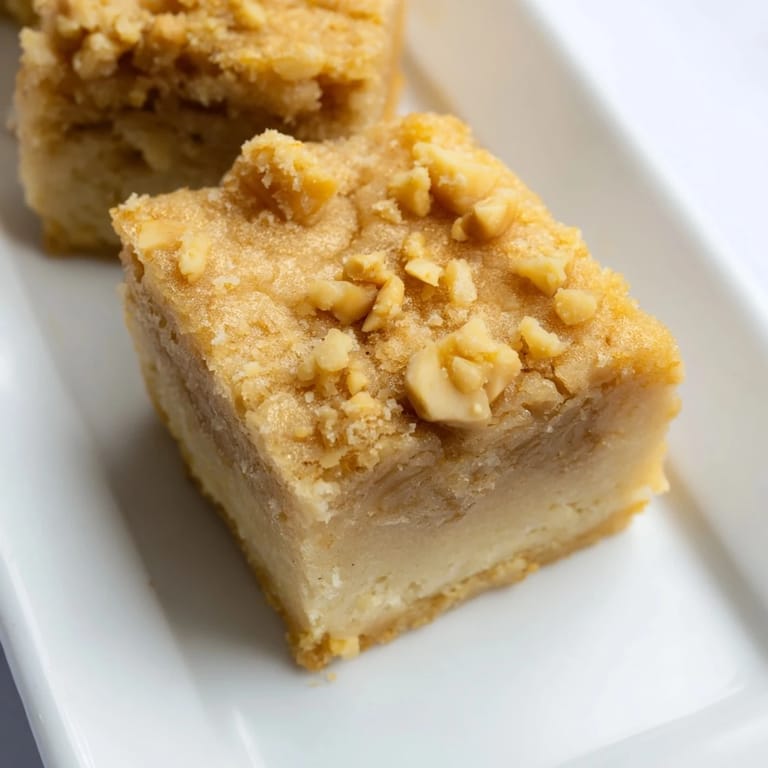
Save I wasn't trying to invent anything the afternoon I dumped peanut butter into mochi batter. I'd run out of the usual butter mochi ingredients and had a jar of peanut butter staring at me from the pantry. The result was so chewy and rich that my neighbor asked for the recipe before I'd even finished cooling the pan. Now it's the dessert I bring when I want to surprise people who think they know what mochi cake tastes like.
The first time I brought this to a potluck, someone thought it was a brownie until they bit into that unmistakable chew. I watched faces shift from confusion to delight as the peanut butter hit. One friend said it tasted like childhood and sophistication somehow landed in the same bite. That's when I knew this wasn't just a happy accident.
Ingredients
- Sweet rice flour: This is mochiko, the glutinous rice flour that gives mochi its signature chew. Don't substitute regular rice flour or you'll lose the texture entirely.
- Granulated sugar: It sweetens without overpowering the peanut butter and helps create that golden top crust.
- Baking powder: Just a touch gives the cake a slightly lighter crumb while keeping it dense and chewy.
- Salt: Balances the sweetness and brings out the roasted flavor of the peanut butter.
- Whole milk: Adds richness and helps the batter come together smoothly.
- Coconut milk: The full-fat kind gives a subtle tropical note and extra moisture that keeps the cake tender.
- Eggs: They bind everything and add structure so the cake holds its shape when you slice it.
- Creamy peanut butter: The star ingredient. Use the regular kind, not natural, so it blends easily and doesn't separate.
- Unsalted butter: Melted and whisked in for richness and a hint of that buttery mochi flavor.
- Vanilla extract: A warm background note that ties the peanut butter and coconut together.
Tired of Takeout? 🥡
Get 10 meals you can make faster than delivery arrives. Seriously.
One email. No spam. Unsubscribe anytime.
Instructions
- Prep the oven and pan:
- Heat your oven to 350°F and grease your 9x13-inch pan well, or line it with parchment so the edges don't stick. This step matters because mochi cakes can cling stubbornly to the pan.
- Mix the dry ingredients:
- Whisk together the sweet rice flour, sugar, baking powder, and salt in a large bowl until there are no clumps. I like to use a fork first to break up any lumps in the flour.
- Blend the wet ingredients:
- In another bowl, whisk the milk, coconut milk, eggs, peanut butter, melted butter, and vanilla until the mixture is smooth and the peanut butter is fully incorporated. It should look creamy and unified.
- Combine wet and dry:
- Pour the wet mixture into the dry and whisk until the batter is completely smooth with no streaks of flour. The batter will be thinner than cake batter but thicker than pancake batter.
- Pour and prep for baking:
- Pour the batter into your prepared pan and tap it gently on the counter a few times to release any trapped air bubbles. This keeps the texture even.
- Bake until golden:
- Slide the pan into the oven and bake for 45 to 50 minutes, until the top is golden brown and a toothpick poked in the center comes out clean. The edges will pull away slightly from the pan.
- Cool completely:
- Let the cake cool fully in the pan before you slice it. If you cut it warm, it will be gummy and stick to the knife.
- Slice and serve:
- Cut into squares and serve at room temperature or cold from the fridge. Both ways are delicious, though I prefer it chilled for that extra chew.
 Save
Save  Save
Save My dad, who usually skips dessert, ate three pieces of this in one sitting and asked if I'd made it with some kind of secret ingredient. When I told him it was just peanut butter, he laughed and said sometimes the best recipes are the ones you don't plan. He wasn't wrong.
Storage and Serving
This cake keeps beautifully in an airtight container in the fridge for up to five days. The texture actually improves after a day or two as the flavors meld and the chew intensifies. I like to cut it into squares and stack them between parchment so they don't stick together. Serve it cold, at room temperature, or even slightly warmed for a softer bite.
Flavor Variations
If you want to play with the flavor, try swapping the peanut butter for almond or cashew butter for a different nutty profile. You can also fold in chocolate chips, drizzle melted chocolate on top after baking, or sprinkle flaky sea salt over the finished cake for a sweet-salty contrast. I've even added a swirl of raspberry jam before baking, and it was gone in minutes.
What to Serve It With
This cake is rich enough to stand alone, but it's wonderful with a dollop of whipped cream or a scoop of vanilla ice cream. Fresh berries, especially strawberries, cut through the peanut butter beautifully. I've also served it alongside hot tea or coffee for an afternoon treat that feels both cozy and special.
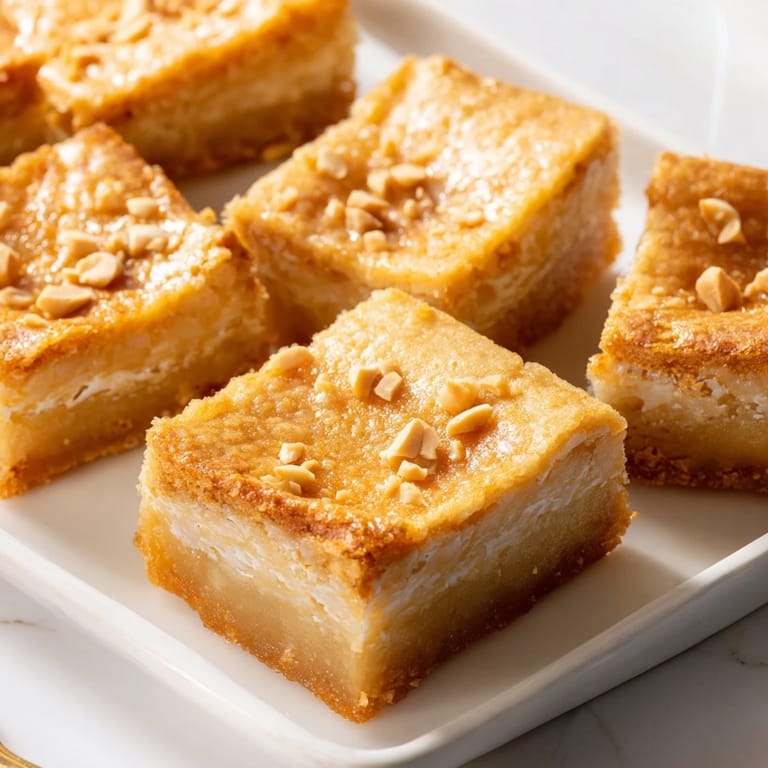
- Top with roasted peanuts before baking for a crunchy contrast.
- Dust with powdered sugar just before serving for a simple, elegant look.
- Pair with a drizzle of honey or a light fruit compote if you want extra sweetness.
 Save
Save 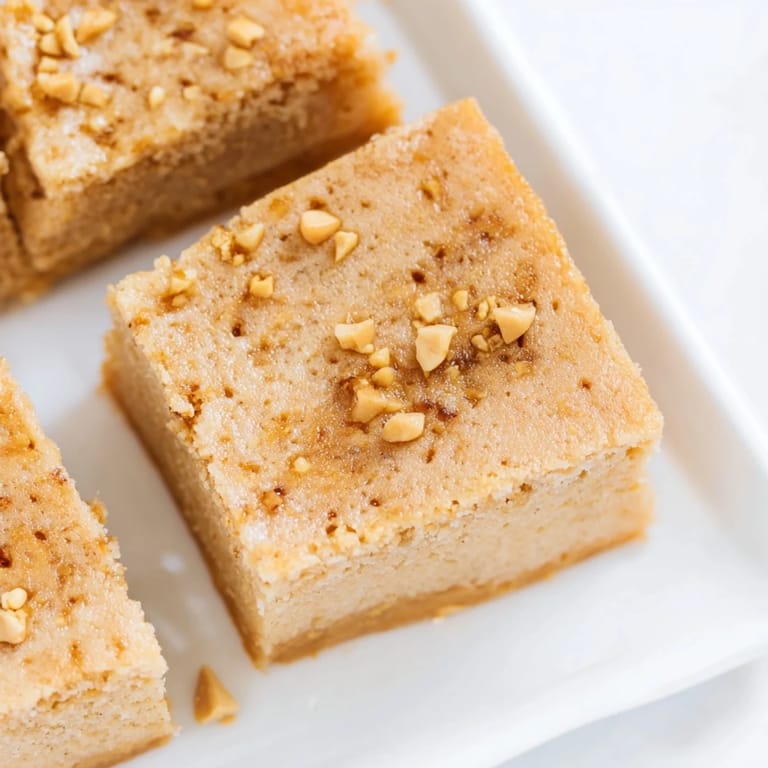 Save
Save This cake has become the dessert I make when I want something familiar but just different enough to feel exciting. I hope it surprises you the way it surprised me that first time I pulled it from the oven.
Recipe Guide
- → What flour is used for the mochi texture?
Sweet rice flour, also known as glutinous rice flour or mochiko, provides the chewy texture typical of mochi-based dishes.
- → Can I substitute the coconut milk?
You can replace coconut milk with evaporated milk for a lighter flavor, although coconut milk enhances richness.
- → How do I ensure the cake is moist and tender?
Combining whole milk, coconut milk, and melted butter with eggs helps keep the cake moist and tender throughout baking.
- → What baking pan size is recommended?
A 9x13-inch baking pan works well for even cooking and ideal thickness of the cake layers.
- → How can I add texture to the top?
Sprinkling roasted peanuts on top before baking adds a satisfying crunchy contrast to the chewy texture below.
- → Is this suitable for gluten-sensitive diets?
Yes, using glutinous rice flour keeps the dish gluten-free, but ensure other ingredients like peanut butter have no cross-contamination.