 Save
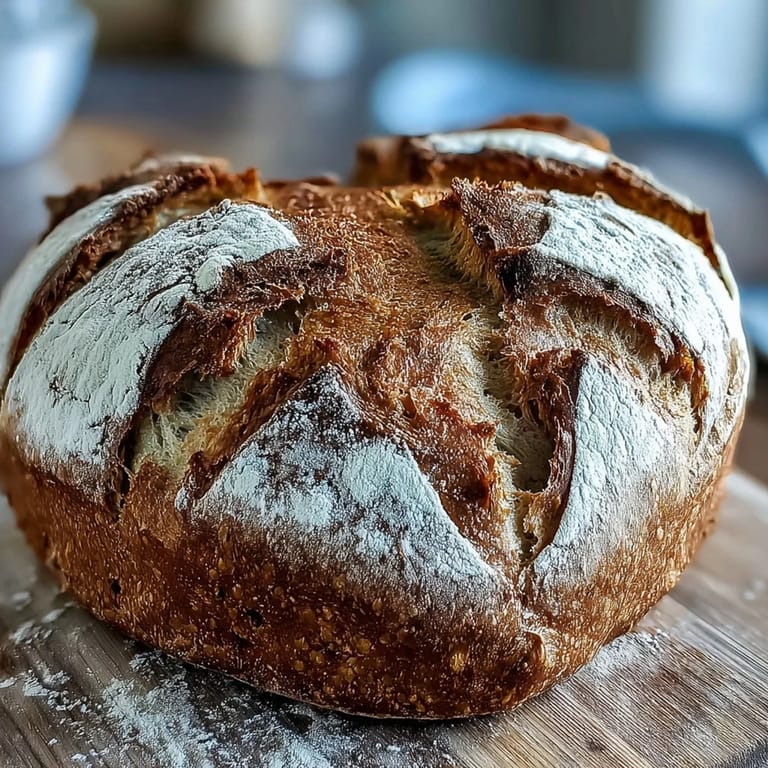
Save There's something about shaping dough into hearts that makes you slow down. I was rushing through a regular sourdough bake one February afternoon when my partner walked by the counter and mentioned Valentine's Day was coming. Within minutes, I'd flattened the dough, pinched it at the base, and created that little indent at the top. The whole kitchen shifted—suddenly I wasn't just baking bread, I was making something that said something. These heart-shaped loaves with their crispy exteriors and cloud-soft interiors became my favorite way to show up for people I care about.
Last Valentine's Day, I made these for friends who showed up unannounced on a snowy evening. As they bit into the warm, steaming bread with their perfect crispy crust, one of them said, 'This looks like you actually tried,' and we all laughed. What they didn't know was how simple the technique really was—just patience and a little creative shaping. That moment reminded me that the most impressive things often come from doing one small thing differently.
Ingredients
- Active sourdough starter (100 g): Make sure yours is fed and bubbling—the liveliness of your starter directly affects how much your dough rises and how flavorful your final loaf becomes.
- Bread flour (350 g) and whole wheat flour (50 g): The combination gives you structure from the bread flour while the whole wheat adds nutty flavor and subtle complexity without overwhelming the tang.
- Room temperature water (280 g): Warm water speeds fermentation, so keeping it at room temperature helps you avoid an overly sour crumb and maintain control over your timeline.
- Fine sea salt (8 g): Add this after the autolyse so gluten development isn't hindered—salt strengthens your dough and intensifies flavor in ways coarse salt can't.
- Rice flour (for dusting): It doesn't absorb moisture like wheat flour does, so your scoring stays crisp and visible and won't stick to your hands or tools.
- Optional edible dried flowers or seeds: These transform your loaf from beautiful to unforgettable, and they stay vibrant through baking if you add them after the crust sets.
Tired of Takeout? 🥡
Get 10 meals you can make faster than delivery arrives. Seriously.
One email. No spam. Unsubscribe anytime.
Instructions
- Mix and rest your dough:
- Combine your bubbly starter, flours, and room-temperature water in a large bowl until shaggy and there are no dry bits hiding at the bottom. Let it sit undisturbed for 30 to 45 minutes—this resting period, called autolyse, allows the flour to fully hydrate and makes kneading easier than you'd expect.
- Incorporate the salt:
- Sprinkle salt over the dough and mix it in thoroughly with wet hands, squeezing and folding until the salt is completely dissolved into the dough. This might feel sticky and rough at first, but you're building strength with every fold.
- Perform stretch-and-folds:
- Wet your hand, grab one side of the dough, stretch it up and fold it over the center, then rotate the bowl and repeat from all four sides. Do this three to four times, waiting 30 minutes between sets and covering your dough with a damp towel—you're developing gluten structure without traditional kneading.
- First rise to double:
- Shape the dough gently into a tight ball, place it in a lightly oiled bowl, cover it, and let it rise at room temperature for 4 to 6 hours until roughly doubled in volume. You'll know it's ready when you poke it and it springs back slowly, leaving a shallow indent.
- Shape into hearts:
- Turn the dough onto a lightly floured surface and divide it in half with a bench scraper or knife. Flatten each piece gently, then pinch the base to form a sharp point and use your thumb to indent the top center where a heart dips, creating that distinctive shape.
- Cold proofing overnight:
- Place each heart-shaped dough into a floured proofing basket or a bowl lined with a floured kitchen towel, cover loosely, and refrigerate for 8 to 12 hours. This slow fermentation develops incredible flavor and makes the dough easier to score without deflating.
- Preheat your oven:
- Place your Dutch oven or baking stone inside and heat to 240°C (465°F) for at least 45 minutes—a truly hot oven is what creates that shatteringly crisp crust you're after.
- Score with artistry:
- Remove one heart from the fridge, invert it carefully onto parchment paper, and dust generously with rice flour. Using a sharp lame or razor blade, score decorative patterns into the top—small lines radiating from the center, or delicate crosses—whatever feels right in the moment.
- Bake covered, then uncovered:
- Transfer the parchment and dough into your preheated Dutch oven, cover with the lid, and bake for 20 minutes to trap steam (this is what creates those beautiful ear formations). Remove the lid, reduce heat slightly if the crust is already deep golden, and bake for another 15 minutes until the entire loaf is crisp and caramelized.
- Cool completely:
- Lift your heart onto a wire rack and resist every urge to slice into it for at least an hour—the crumb continues to set and the crust stays crispy as it cools. Once fully cooled, dust with powdered sugar, arrange edible flowers, or leave it as is if the golden-brown simplicity is enough.
 Save
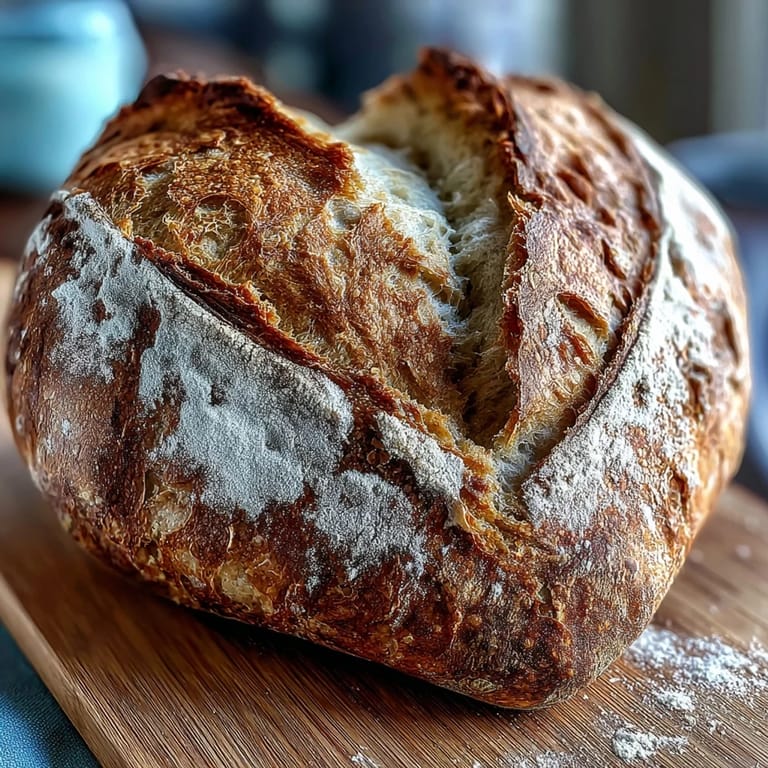
Save There was one morning when I pulled a heart-shaped loaf from the oven and the steam rose up so thick I could barely see the golden crust beneath. For a moment, the whole kitchen smelled like fermented wheat and warmth and possibility. That's the feeling sourdough gives me—the sense that patience and attention have turned flour and water into something that matters.
The Magic of Cold Proofing
Refrigerating your dough overnight isn't just a scheduling convenience—it's where the real flavor development happens. The cold slows yeast activity while bacteria continue working slowly, creating complex sourness without the aggressive tang of a fast ferment. I've learned that the longest proof often yields the most interesting bread, and Valentine's Day gives us the perfect excuse to plan ahead.
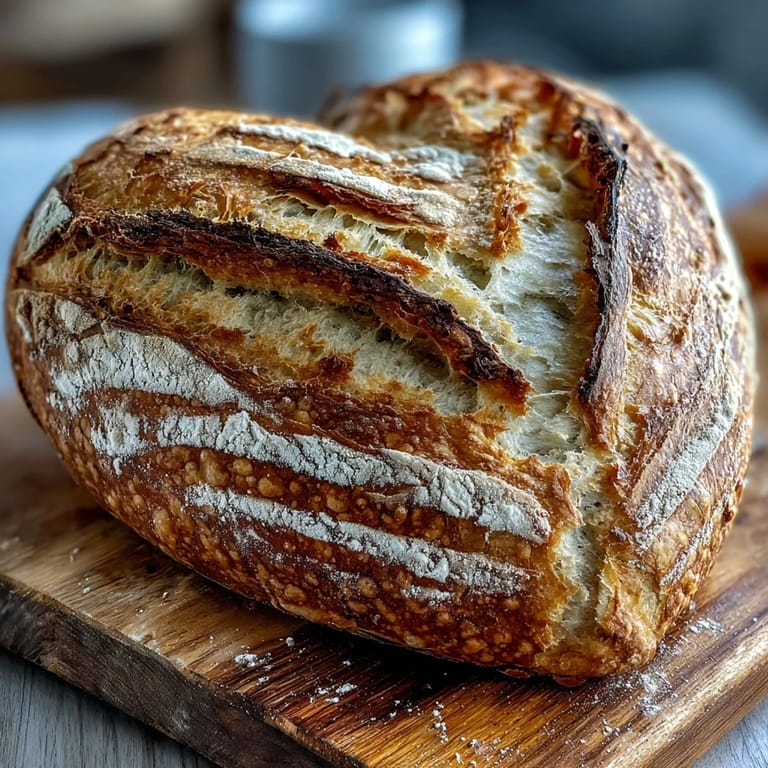
Scoring as Decoration
Those score marks aren't just functional; they're your signature on the loaf. A sharp blade and confident hand create what bakers call the ear—that curled-back edge where the dough bursts open—and it's where you can get creative. Some mornings I draw simple lines, other times I attempt intricate patterns that probably look like accidents but somehow work anyway.
Beyond Valentine's Day
Once you've mastered the heart shape, you'll start seeing other possibilities in the dough. I've made wreaths for Christmas, round boules for dinner parties, and even attempted an octopus-shaped loaf that my friends still talk about. The technique stays the same—it's just your imagination and how you shape that bubbly mass of dough.
- For a pink swirl effect that turns heads, knead 1 tablespoon of beetroot powder into half the dough before shaping.
- Try scoring different patterns on each heart so they have individual personalities even though they baked side by side.
- Serve one warm with salted butter and jam, and save the other for breakfast the next morning when the crumb has fully set and the flavors have deepened.
 Save
Save There's an honesty to sourdough that I've come to love—it shows you exactly what you did, right there on the crust and inside the crumb. These heart-shaped loaves are no exception, and somehow that authenticity makes them perfect for sharing.
Recipe Guide
- → How do I shape the dough into heart forms?
After dividing the dough, flatten each piece slightly, pinch the base to form a point, and indent the top center to create the heart shape.
- → Why is rice flour used for dusting before scoring?
Rice flour prevents sticking and highlights the artistic scoring patterns by providing contrast on the crust.
- → What is the purpose of cold proofing overnight?
Cold proofing slows fermentation, improving flavor complexity and dough strength while making handling easier.
- → Can I add color to the dough?
Yes, kneading beetroot powder into half the dough before shaping creates an attractive pink swirl effect.
- → How do the stretch-and-fold steps benefit the dough?
Stretch-and-folds develop gluten structure, enhance gas retention, and improve loaf volume and texture.